Do you want to create a to-do list in your WordPress site?
Getting things done can often be boiled down to having an old-fashioned to-do list. And being able to see your to-do list within WordPress can enhance your productivity.
In this article, we’ll show you how to easily create a to-do list in WordPress.
Why Create a To-Do List in WordPress?
To-do lists are the ultimate productivity tool. You can use a simple notebook to manage your daily to-do lists.
However, when you are trying to stay productive at work, then you may want to consider more advanced and efficient to-do list apps. This allows you to stay on top of things and ensure that nothing slips through the cracks.
For WordPress site owners, to-do lists can be used to manage an editorial calendar, website design tasks, manage website conversions, and almost any other task you may want to track.
We’ll show you how to create one inside WordPress with a plugin, and then a more flexible solution using one of our favorite productivity tools that we use in our business.
Ready, let’s get started.
Method 1. How to Make A To-Do List in WordPress
For this method, we’ll be using a WordPress plugin to create and manage your to-do list directly from the WordPress admin area.
It basically let’s you create a Trello style to-do list boards inside WordPress admin.
First, you need to install and activate the Kanban Boards for WordPress plugin. For more details, see our guide on how to install a WordPress plugin.
After installation, go to Kanban » Boards in your WordPress dashboard and click the ‘Add another board’ button to create your new board. You’ll see there’s a ‘Kanban board’ by default.
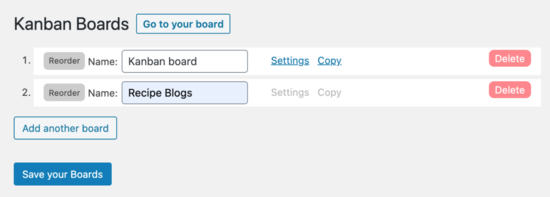
You need. to click the ‘Save your Boards’ button before you go on.
Next, you want to visit the Kanban » Settings page. You’ll immediately land on the ‘General’ tab. Go ahead and click on the name of the board and select the board you just created.

You need to make sure to select ‘Yes’ on the ‘show all columns’ option, so you can see the entire board on one screen in an upcoming step. Don’t forget to save your settings.
Next, click on the ‘Statuses’ tab to configure the columns on your board. This is where you will build your to-do list.

Since this is a brand new board, we are going to create 3 statuses, which indicate how far along you are when working on a task.
We’ll call these three statuses: ‘Task’, ‘In progress’, and ‘Done.’
To do this, click on the ‘add another status button and then name it ‘Task.’

Repeat this process two more times to create all three statuses.
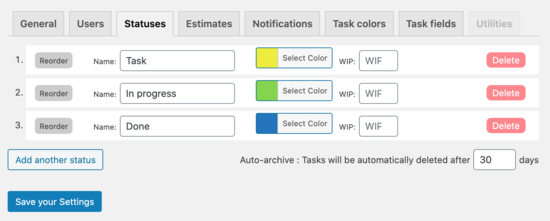
Now that you have all your statuses created, click the ‘Save your Settings’ button.
Once that’s done, it’s time to go to your board and create your to-do list. Simply click on the ‘Go to your board’ button at the top of your screen.
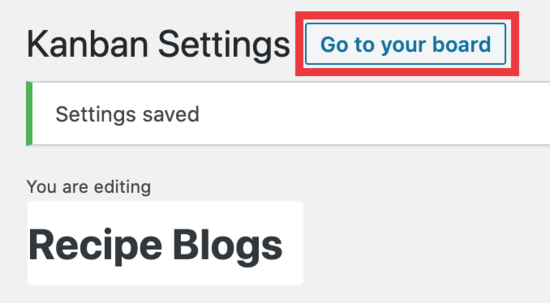
Now, you’ll see your board, and it’s time to create some tasks.
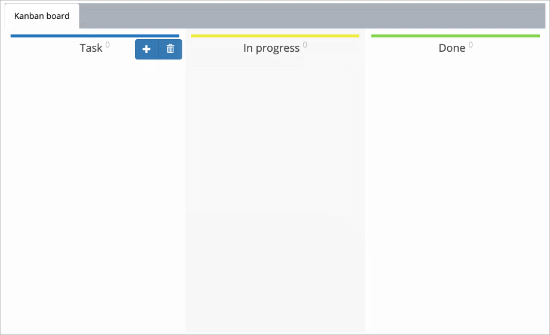
When you hover your mouse over one of the status columns, the blue button will appear. Click on the ‘+’ sign to create your first task.
You have two fields to fill out:
- Add a project
- Add a title
When you click into those fields, you can fill these out. For our example, we’re creating a project called ‘Quick meals’ and then adding blog post titles.
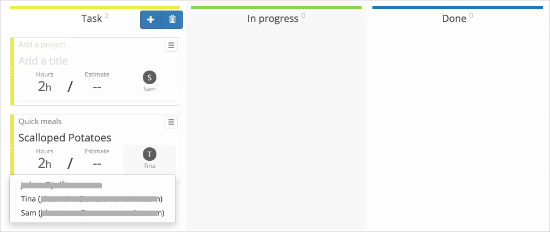
Inside these statuses, you can set a timeframe for them to be completed. And then you can also select which users to assign the task to.
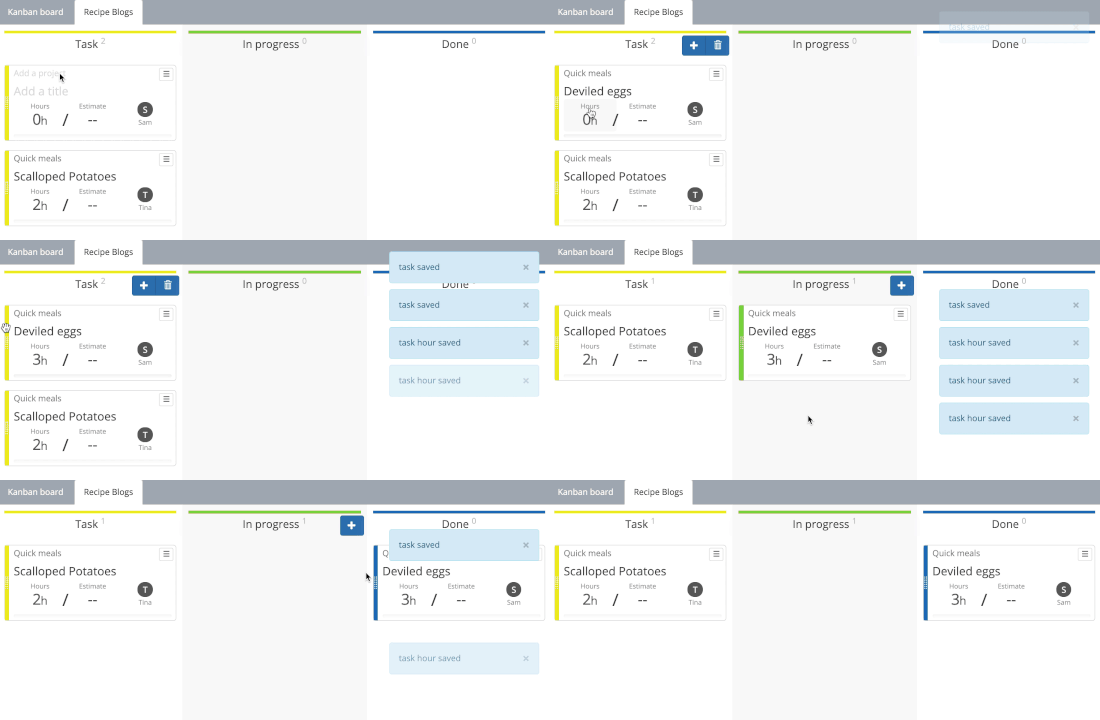
Once you create your task, you can then move it over to the ‘In progress’ and ‘Done’ column to mark them as being worked on or finished.
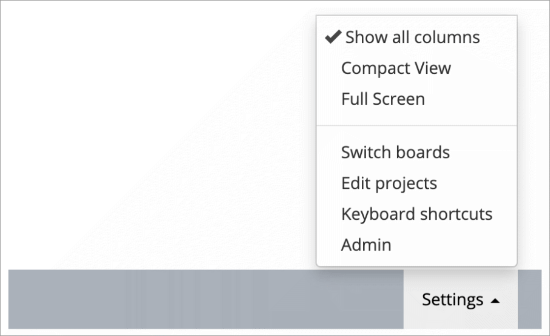
Lastly, to exit your board and get back to your WordPress dashboard, you will click the ‘settings’ button at the bottom of the screen, and then click on ‘Admin.’
Kanban for WordPress is an excellent way to manage to-do lists inside your WordPress admin area.
However, if you need more features or don’t want to give team members access to WordPress admin area, then this next method is for you.
Method 2. Create Your To-Do List With Asana
At WPBeginner and Awesome Motive, we use Asana to manage all our tasks. It is the best project management tool that allows you to keep track of your work and chart your progress along the way.
It is more flexible and offers far more features. You can share access to your Asana project with your team without sharing access to your WordPress admin area.
It is free to get started for small teams and individuals. Plus, it works on mobile devices and has apps for both iOS and Android phones.
That being said, let’s take a look at how to set up and use Asana to create a to-do list for your WordPress website.
First, go to the Asana website and click on the ‘Try for free’ button and submit your email to create your account.
Now, check your business email for a verification link. You need to click that link and follow the instructions to finish creating your account.
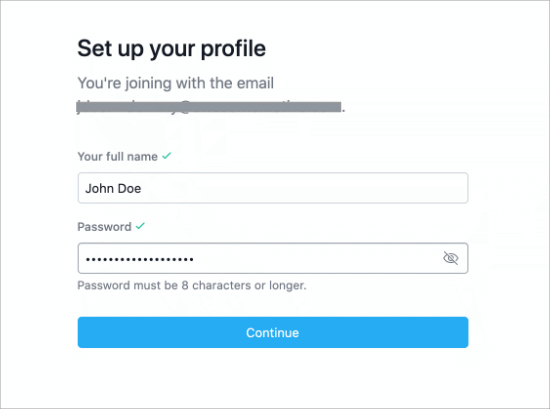
Once you’re done, it’ll take you straight to your dashboard, which looks like this:
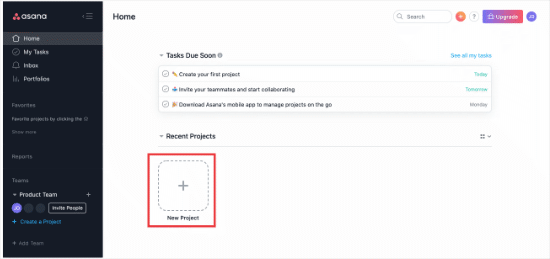
Since we’re creating a to-do list for the first time, click on the ‘New Project’ button to get started.
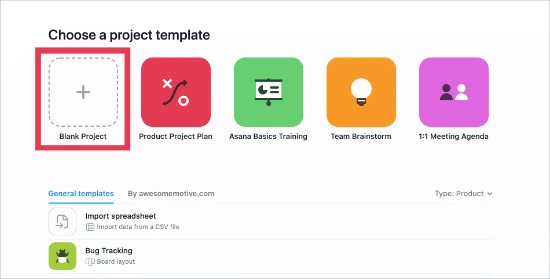
Now, click on the ‘Blank Project’ button to start creating your to-do list. Go ahead and give your project a name. We called ours ‘My To-Do List’ for this example.
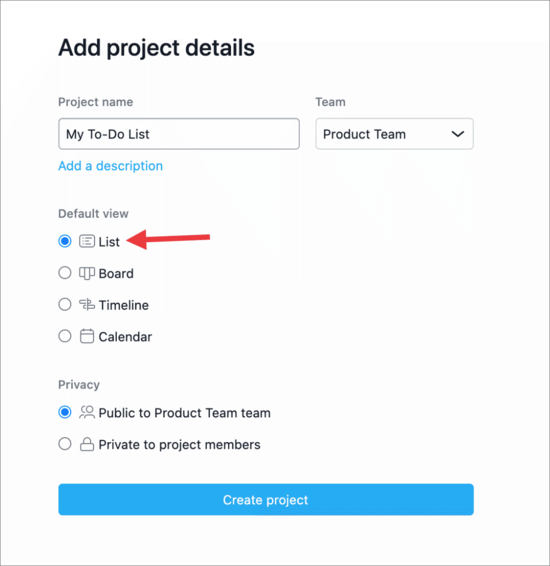
Click on ‘Create project’ and now it’s time to add some tasks to your list.
To create new tasks, you need to follow the instructions by clicking in the area that reads ‘Click here to add a task’. If you need to create more tasks, you simply click the ‘+ Add Task’ button at the top of your dashboard.
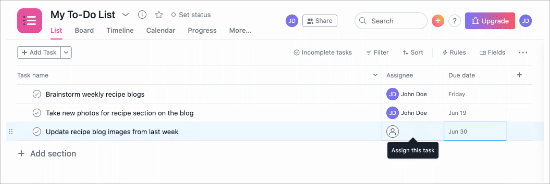
Here’s what yours could look like after adding a few tasks.
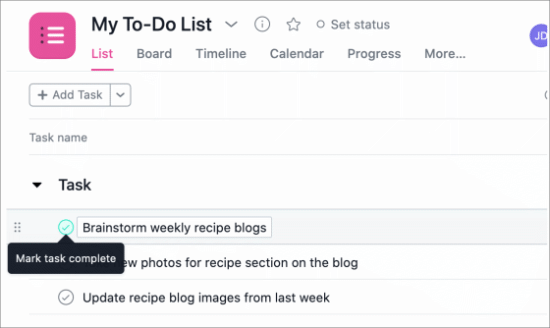
When you finish a task and want to mark it as complete, you simply click on the round circle with a checkmark in it.
Add Team Members to Your Project
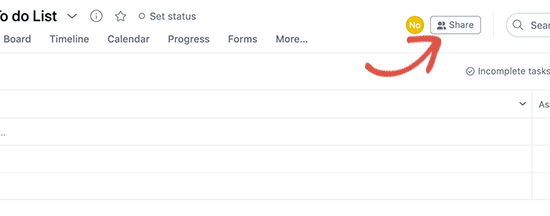
Asana makes it super easy to invite anyone to join your team. Simply click on the share button at the top of a project for inviting users to join your team.
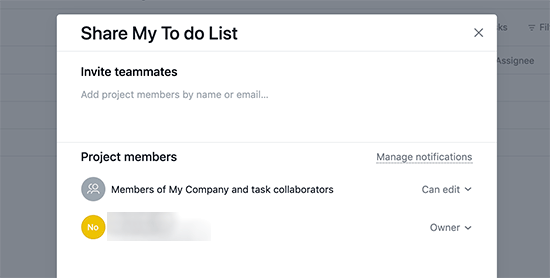
You can then add email addresses of users you want to invite to join your team. You can also remove them at any time you want from your team and control which projects they can edit.
After these team members join your project, you can assign them items from your to-do list to work on.
Asana is a powerful project management tool. Once you start using it, you’ll be delighted to explore new features like its powerful search, team management, task management, and other built-in tools.
We hope this article helped you learn how to create a to-do list in WordPress. You may also want to check out our must-have WordPress plugins for business websites, and our pick for the best business phone services for remote teams.
If you liked this article, then please subscribe to our YouTube Channel for WordPress video tutorials. You can also find us on Twitter and Facebook.
The post How to Create a To-Do List in WordPress appeared first on WPBeginner.


No comments:
Post a Comment